Kick Off 2025 in Style: How To Achieve Your Best Hair Ever with Heatless Curlers
If you are a midlife woman, chances are you’ve spent hours in your 20s dealing with hot rollers, Velcro rollers, and steam rollers in order to create that Farrah-Fawcett mega hair volume style.
I remember there was a time when having a great set of hair rollers (and maybe tons of pins), was a must-have in any hair care routine. Then hair styling brushes and curling wands came in, and everything changed into something more subtle, natural, and quick to set. Big curly hair was replaced by casual beachy and effortlessly elegant waves.
Until now, when something new has taken the stage promising body and volume that lasts, less breakage and heat damage. Enter heatless curlers.
Since then, I’ve stopped compromising my hair’s health and have embraced the amazing benefits of heatless curling. These innovative accessories work by gently shaping your hair while you sleep or go about your day, meaning you can wake up with gorgeous curls or have them ready in just a few hours. Plus, they are incredibly versatile, allowing you to create various curl sizes and styles to suit your preference.
How do Heatless Hair Curlers Work?
While they may not be as ‘instant’ as heat stylers and probably not so different from the foam rollers or fabric scraps we used during high school, heatless hair curlers have undergone a bit of a revamp in recent years and I believe are incredibly easy to use.
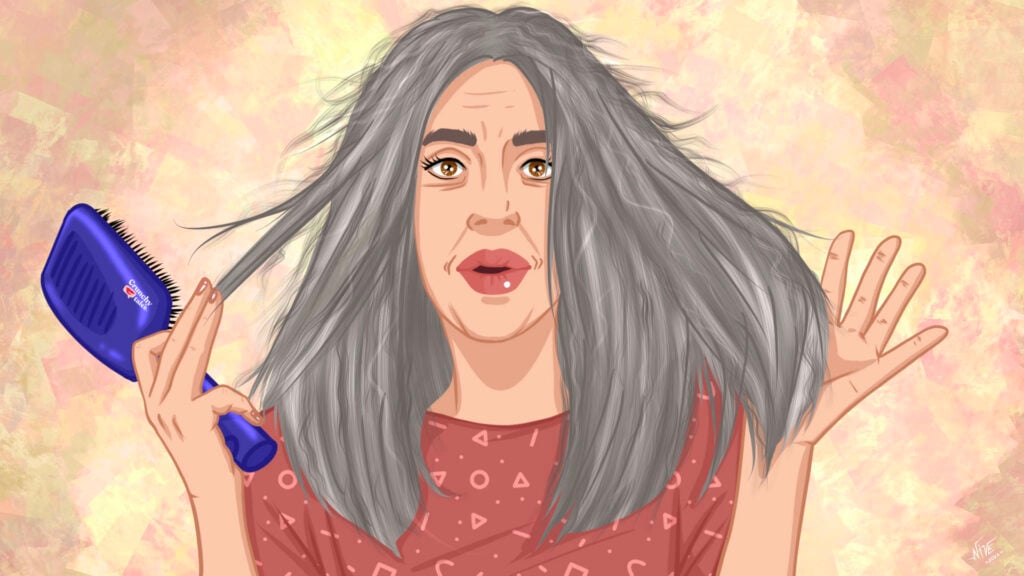
Perfect for midlife women with thinning and damaged hair, although results may not be as long-lasting as heat styling, heatless hair curlers are more comfortable than traditional hair rollers and kinder to your hair.
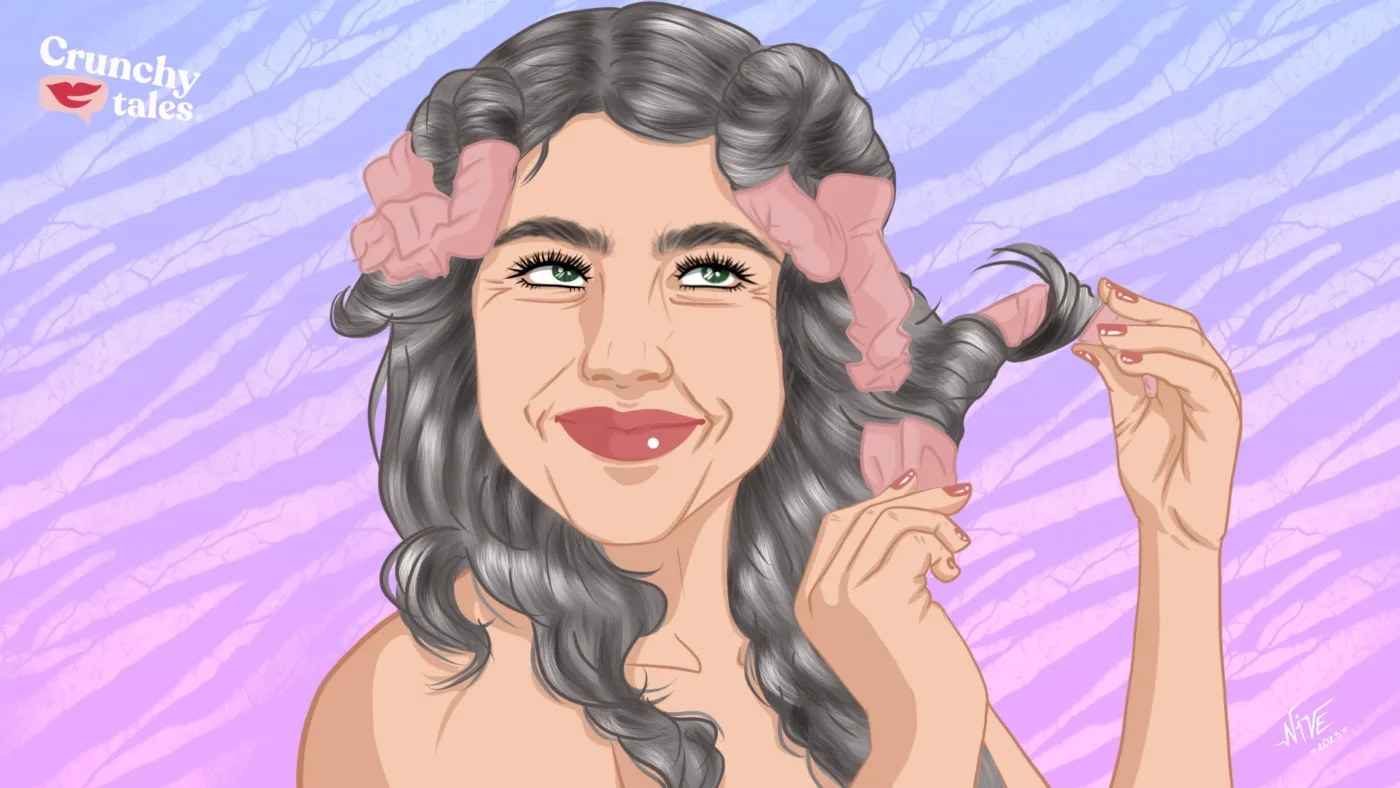
From soft flexible rods to silky hair bands , they work by using gentle, non-thermal methods to shape the hair into curls. Specifically, the hair is wrapped around the rod and fixed in place using clips and scrunchies (no pins or clips required), resulting in wavy hair once the rod is removed.
Which Heatless Hair Curlers are the Best?
When it comes to heatless hair curlers, the market offers several options to choose from, with some sets including a curling rod and satin scrunchies.
I admit they require some practice to perfect the technique. My initial attempts resulted in uneven and loose curls, so I recommend being patient with your learning process and may be watch tutorial videos for visual guidance.
It’s also important to choose the right material for your hair-texture. Some heatless curlers bands are made from velvet, others from satin or pure silk. This option stand out as a better one for your hair, providing the added benefit of silk, an anti-bacterial material that minimizes friction and protects your natural strands, helping to prevent scalp irritation and allergic reaction.
This helps reduce kinks in the curls, leaving your hair smooth and flawless and additionally, it retains moisture by not absorbing it from your hair, ensuring hydration and preventing dryness.
How To Prep Your Hair
Heatless curlers work well for all hair types, but the final result can vary depending on your hair’s texture.
If you want soft, voluminous curls without heat, here’s a trick I swear by using a headband. It’s easy, and the results are amazing!
Here’s how you do it:
- Start with damp hair—not dripping wet, just slightly damp. I like to use a bit of curl mousse at this stage. It keeps the curls hydrated, gives them a nice bounce, and holds them in place.
- Position the headband like a crown around your head, so it sits comfortably but snugly.
- Begin looping: Take a small section of hair from the front, loop it over the headband, and pull it through underneath.
- Add and repeat: Gradually add more hair to the section as you go, continuing the looping process until you’ve worked through one side. Then, do the same on the other side.
- Finish the back: For the hair at the back, just tuck it into the headband in sections, securing it with bobby pins if needed.
- Set it in place: A light mist of hairspray will help lock everything in.
I usually leave it in overnight or for a few hours while I get things done, and when you take it out, you’ll have gorgeous, heat-free curls that last. Let me know if you try it—you’re going to love the results!
Like this post? Support Us or Sign up to our newsletter to get more articles like this delivered straight to your inbox!




This Post Has 0 Comments